Skim Coating
Serving Broadstairs, Ramsgate, Margate, Canterbury, Dover and surrounding areas
Skim coating is a thin layer of finishing plaster applied over an existing surface to create a smooth, flat finish ready for decorating. It is one of the most common plastering jobs we carry out, and when done properly, it transforms tired walls and ceilings without the cost of a full replaster.
What Is Skim Coating?
Skim coating is the application of a thin layer of finishing plaster - typically 2-3mm thick - over an existing surface. It is not a full replaster. Instead, it relies on the existing wall or ceiling being structurally sound and reasonably flat, with the skim coat providing a fresh, smooth surface for painting or wallpapering.
The material used is most commonly British Gypsum Thistle Board Finish when skimming over plasterboard, or Thistle Multi-Finish when going over existing plaster, artex or other backgrounds. The plaster is mixed to a creamy consistency and applied in two passes, with the second pass trowelled to a smooth finish.
Lee on Board Finish vs Multi-Finish
Multi-Finish is my workhorse. It works on plasterboard, it works on a backing coat, it works over old plaster. It’s a no-brainer because it covers most situations and every local supplier stocks it. Board Finish gives you a slightly better result when you’re skimming straight onto plasterboard, so I’ll use it on jobs where I can plan ahead and pick it up. But if I had to pick one product to live with, it’d be Multi-Finish every time.
When Is Skim Coating the Right Choice?
Skim coating sits between a simple patch repair and a full replaster. It is the right solution when:
- Plasterboard has been fitted as part of a dry lining, partition wall or ceiling replacement and needs a smooth finish
- Existing plaster is sound but the surface is rough, pitted or has minor imperfections that cannot be resolved with filler alone
- You want to cover artex on walls or ceilings without the disruption and potential asbestos risk of removing it
- Wallpaper has been removed and the underlying plaster surface is too damaged for direct decoration but not bad enough to warrant stripping back entirely
- A previously textured or rough wall needs to be brought to a modern smooth finish
Many East Kent homes built between the 1960s and 1980s have textured wall finishes or artex ceilings that homeowners want to update. Skim coating is typically the most practical and cost-effective way to achieve this.
Lee on the work mix
Skim coating is 70 to 80% of my interior work. The rest is full replastering, which means hacking off the old plaster and starting again from the brick or block. Artex covering is still a big chunk of the skim work, especially on ceilings. Loads of East Kent homes from the 70s and 80s still have artex up there, and most people now want it gone or covered. I’ll always recommend overboarding rather than scraping because of the asbestos risk with older artex, but if the customer wants the cheaper option, we can skim straight over it after sealing with grit PVA.
Skim Coating vs Full Replaster
Understanding the difference helps you know what to expect and what to budget for.
Skim Coat
- 2-3mm thick single finishing coat
- Applied over a sound existing surface
- Lower cost, quicker to complete
- Suitable when the underlying surface is flat and well-bonded
Full Replaster
- Involves stripping old plaster back to masonry
- Backing coat (8-11mm) plus finishing coat (2-3mm)
- Higher cost, takes longer
- Necessary when existing plaster is blown, hollow or unstable
The key test is simple: tap the wall with your knuckles. If it sounds solid and feels firm, a skim coat is likely sufficient. If it sounds hollow, crumbles or flexes, you are looking at a replaster. We always check this during our initial visit and give honest advice. There is no point skimming over plaster that is going to fail in six months.
Our Skim Coating Process
Surface Preparation
This is where the quality of the finish is determined. We check the entire surface for loose material, flaking paint, blown areas and damp. Any issues are dealt with before we start. Depending on the surface, we may:
- Apply PVA to control suction on porous surfaces
- Apply blue grit bonding agent on smooth, painted or low-suction surfaces to create a mechanical key
- Apply scrim tape over plasterboard joints, cracks and vulnerable points to prevent cracking
- Hack off any small areas of loose plaster and patch with bonding coat before skimming
Lee on preparation
Eighty percent of the job is in the preparation. I’ve been over enough other people’s work to know that’s where the corners get cut. If the wall isn’t clean, isn’t keyed properly, isn’t sealed where it needs to be, you can apply the best finishing plaster on the market and it’ll fail. The other thing I check is what’s underneath. Painted walls, glossy ceilings, anything with a slick surface, that needs grit PVA before the plaster goes anywhere near it. Grit PVA in the last few years has been a real game-changer for me. Yellow, red, or blue depending on the surface. Gives the plaster something to bite onto, and that’s the difference between a finish that lasts and one that comes off in sheets.
Application
We apply the finishing plaster in two passes:
First pass: A thin, even layer of plaster is spread across the surface, ensuring full coverage and working the material into any texture or imperfections. This coat is left to firm up slightly.
Second pass: A thinner layer is applied over the first, and this is then trowelled repeatedly as it sets, working it to a smooth, flat finish. The timing of each trowelling pass is critical - too early and the plaster drags, too late and it becomes unworkable.
A good skim finish should be flat, free of trowel marks, and have no ridges, hollows or pitting. It should feel like glass when you run your hand across it.
Finishing Touches
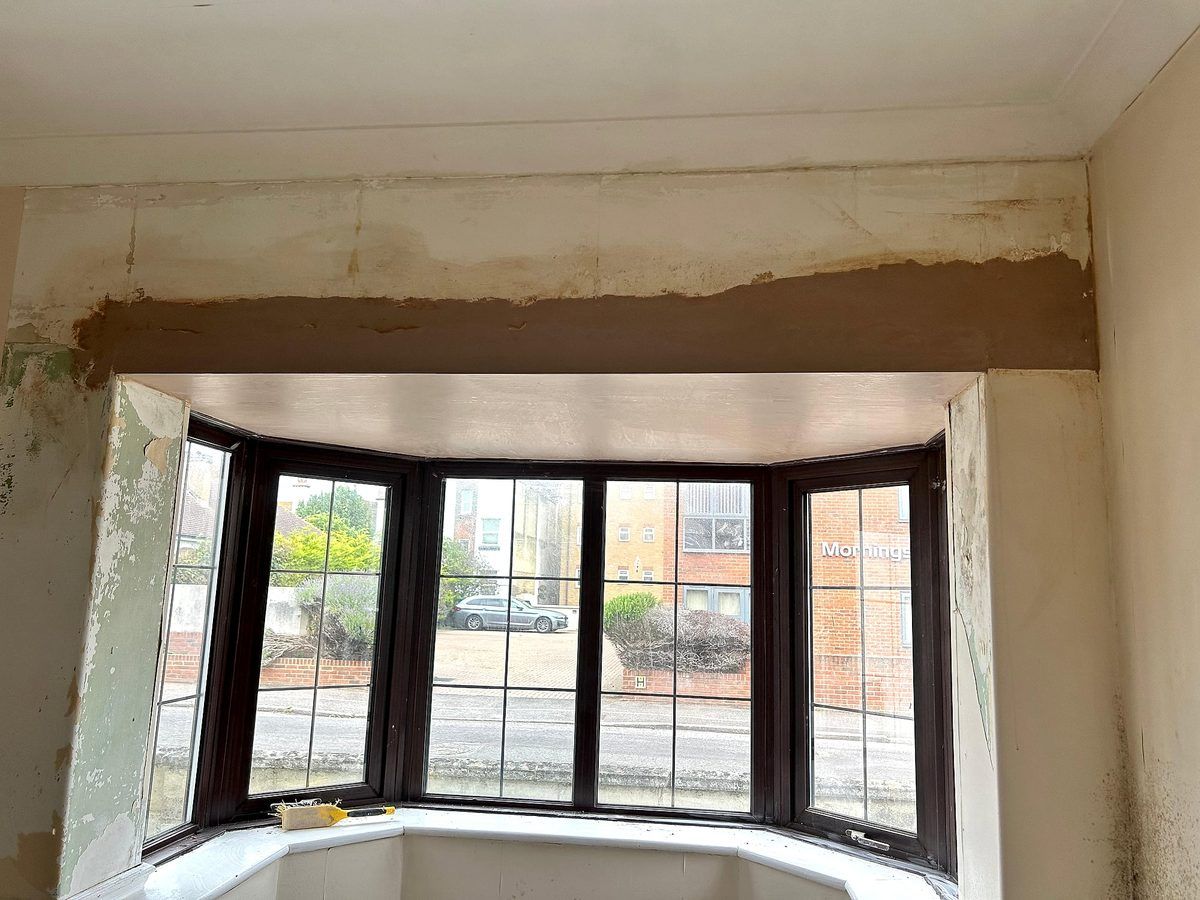
We fit metal angle beads on any external corners for clean, durable edges. Window reveals, alcoves and other awkward areas receive the same standard of finish as the main wall areas. We do not cut corners on the bits that are harder to reach.
Materials
- Thistle Board Finish - our standard choice for plasterboard backgrounds. Sets slightly slower than Multi-Finish, giving more working time and a harder surface.
- Thistle Multi-Finish - used on mixed backgrounds, existing plaster and artex. Extremely versatile.
- Gyproc Scrim Tape - self-adhesive fibreglass tape applied to all joints and stress points
- Blue Grit - bonding agent for smooth or painted surfaces
- Unibond PVA - for suction control on absorbent backgrounds
Lee on specialist products
For damp areas or anywhere there’s water about, bathrooms, toilets, basements, I’ll use moisture-resistant boards underneath and the right backing system on top. For dry-lining in places where noise matters, like radio studios or rooms next to a busy road, I use acoustic boards. Fireline boards for ground floors and basements where the regs require it. The skim itself is normally still Multi-Finish or a renovating plaster on damp jobs, but the board choice underneath is where the specialism shows up.
Common Skim Coating Scenarios in East Kent
Artex Ceilings
Covering artex is our single most requested skim coating job. Many East Kent homes still have textured ceilings from the 1970s and 80s. We apply blue grit over the artex, then skim directly over the top. This avoids the disruption, cost and potential asbestos risk of physical removal.
Post-Wallpaper Stripping
When wallpaper comes off and takes chunks of plaster face with it, or leaves a surface that is too rough for paint, a skim coat brings everything back to a smooth finish. This is especially common in older Canterbury and Deal properties where multiple layers of wallpaper have been applied over the decades.
New Plasterboard
Whether it is a new partition wall, a replacement ceiling or a dry-lined room, all plasterboard needs a skim coat to hide the joints and fixings and create a seamless surface. We tape all joints with scrim, check that boards are securely fixed, and skim to a high standard.
Kitchen and Bathroom Refurbishments
After old tiles are removed, the wall surface is often too damaged for new tiles to go straight on but may not need a full replaster. A skim coat over the damaged areas can provide a smooth, solid surface for re-tiling or painting.
Lee on other regular jobs
Water damage is one I get called out for a lot. Burst pipes that have brought a ceiling down or stained a wall, that’s a regular repair job. Sometimes it’s just a patch, sometimes it’s a full ceiling or wall replacement, depending on how far the damage has gone. The other big one is full house re-skims when someone’s moved into a property and wants to bring everything back to a clean, modern finish before they paint and move their furniture in. That’s a satisfying job because you can see the transformation in a few days.
Drying and Aftercare
Fresh skim plaster needs time to dry before you decorate. In a well-ventilated room during summer, this might be two weeks. In a closed-up room during a Kent winter, it could take four weeks or more. The plaster will change from dark pink-brown to a uniform pale pink as it dries. Do not paint until the entire surface is a consistent light colour.
Your first coat of paint should always be a mist coat - emulsion diluted roughly 70% paint to 30% water. This soaks into the plaster and provides a base for subsequent coats to bond to. Applying undiluted paint directly to new plaster can cause peeling.
Frequently Asked Questions
What is the difference between skimming and plastering?
Can you skim over painted walls?
How long does skim coating take per room?
Is skimming cheaper than a full replaster?
Can you skim over artex?
Do I need to do anything to prepare the room?
Will there be a mess?
Can cracks come back after skimming?
Ready to Get Started?
Contact us today for a free, no-obligation quote on your skim coating project. We serve all areas across East Kent.
What Customers Say About Our Skim Coating
5.0Hallway walls
Lee and Adam completed a job in my hallway, so polite, efficient and tidy, the work was spot on to a high standard. Thanks
5.0Skim Plastering Ceiling
Perfect Plastering skim plastered over the old popcorn Artex ceiling in my lounge (which had a patch repair visible). The ceiling is now perfectly smooth and looks lovely. Lee and Adam were polite, helpful and got on with the work without any fuss. The job was also competitively priced.
5.0Plastered artex ceiling and walls
Both of the lads plastered 3 bedrooms, hallway ceiling and bathroom ceiling including cupboards. After speaking to multiple plasterers, giving ridiculous quotes, Lee was the one we went for as he provided a reasonable quote without compromising on quality. They were polite, quick and efficient. Lee said if there were any issues to give him a call. Would definitely be going back to them again for any more plastering jobs!!